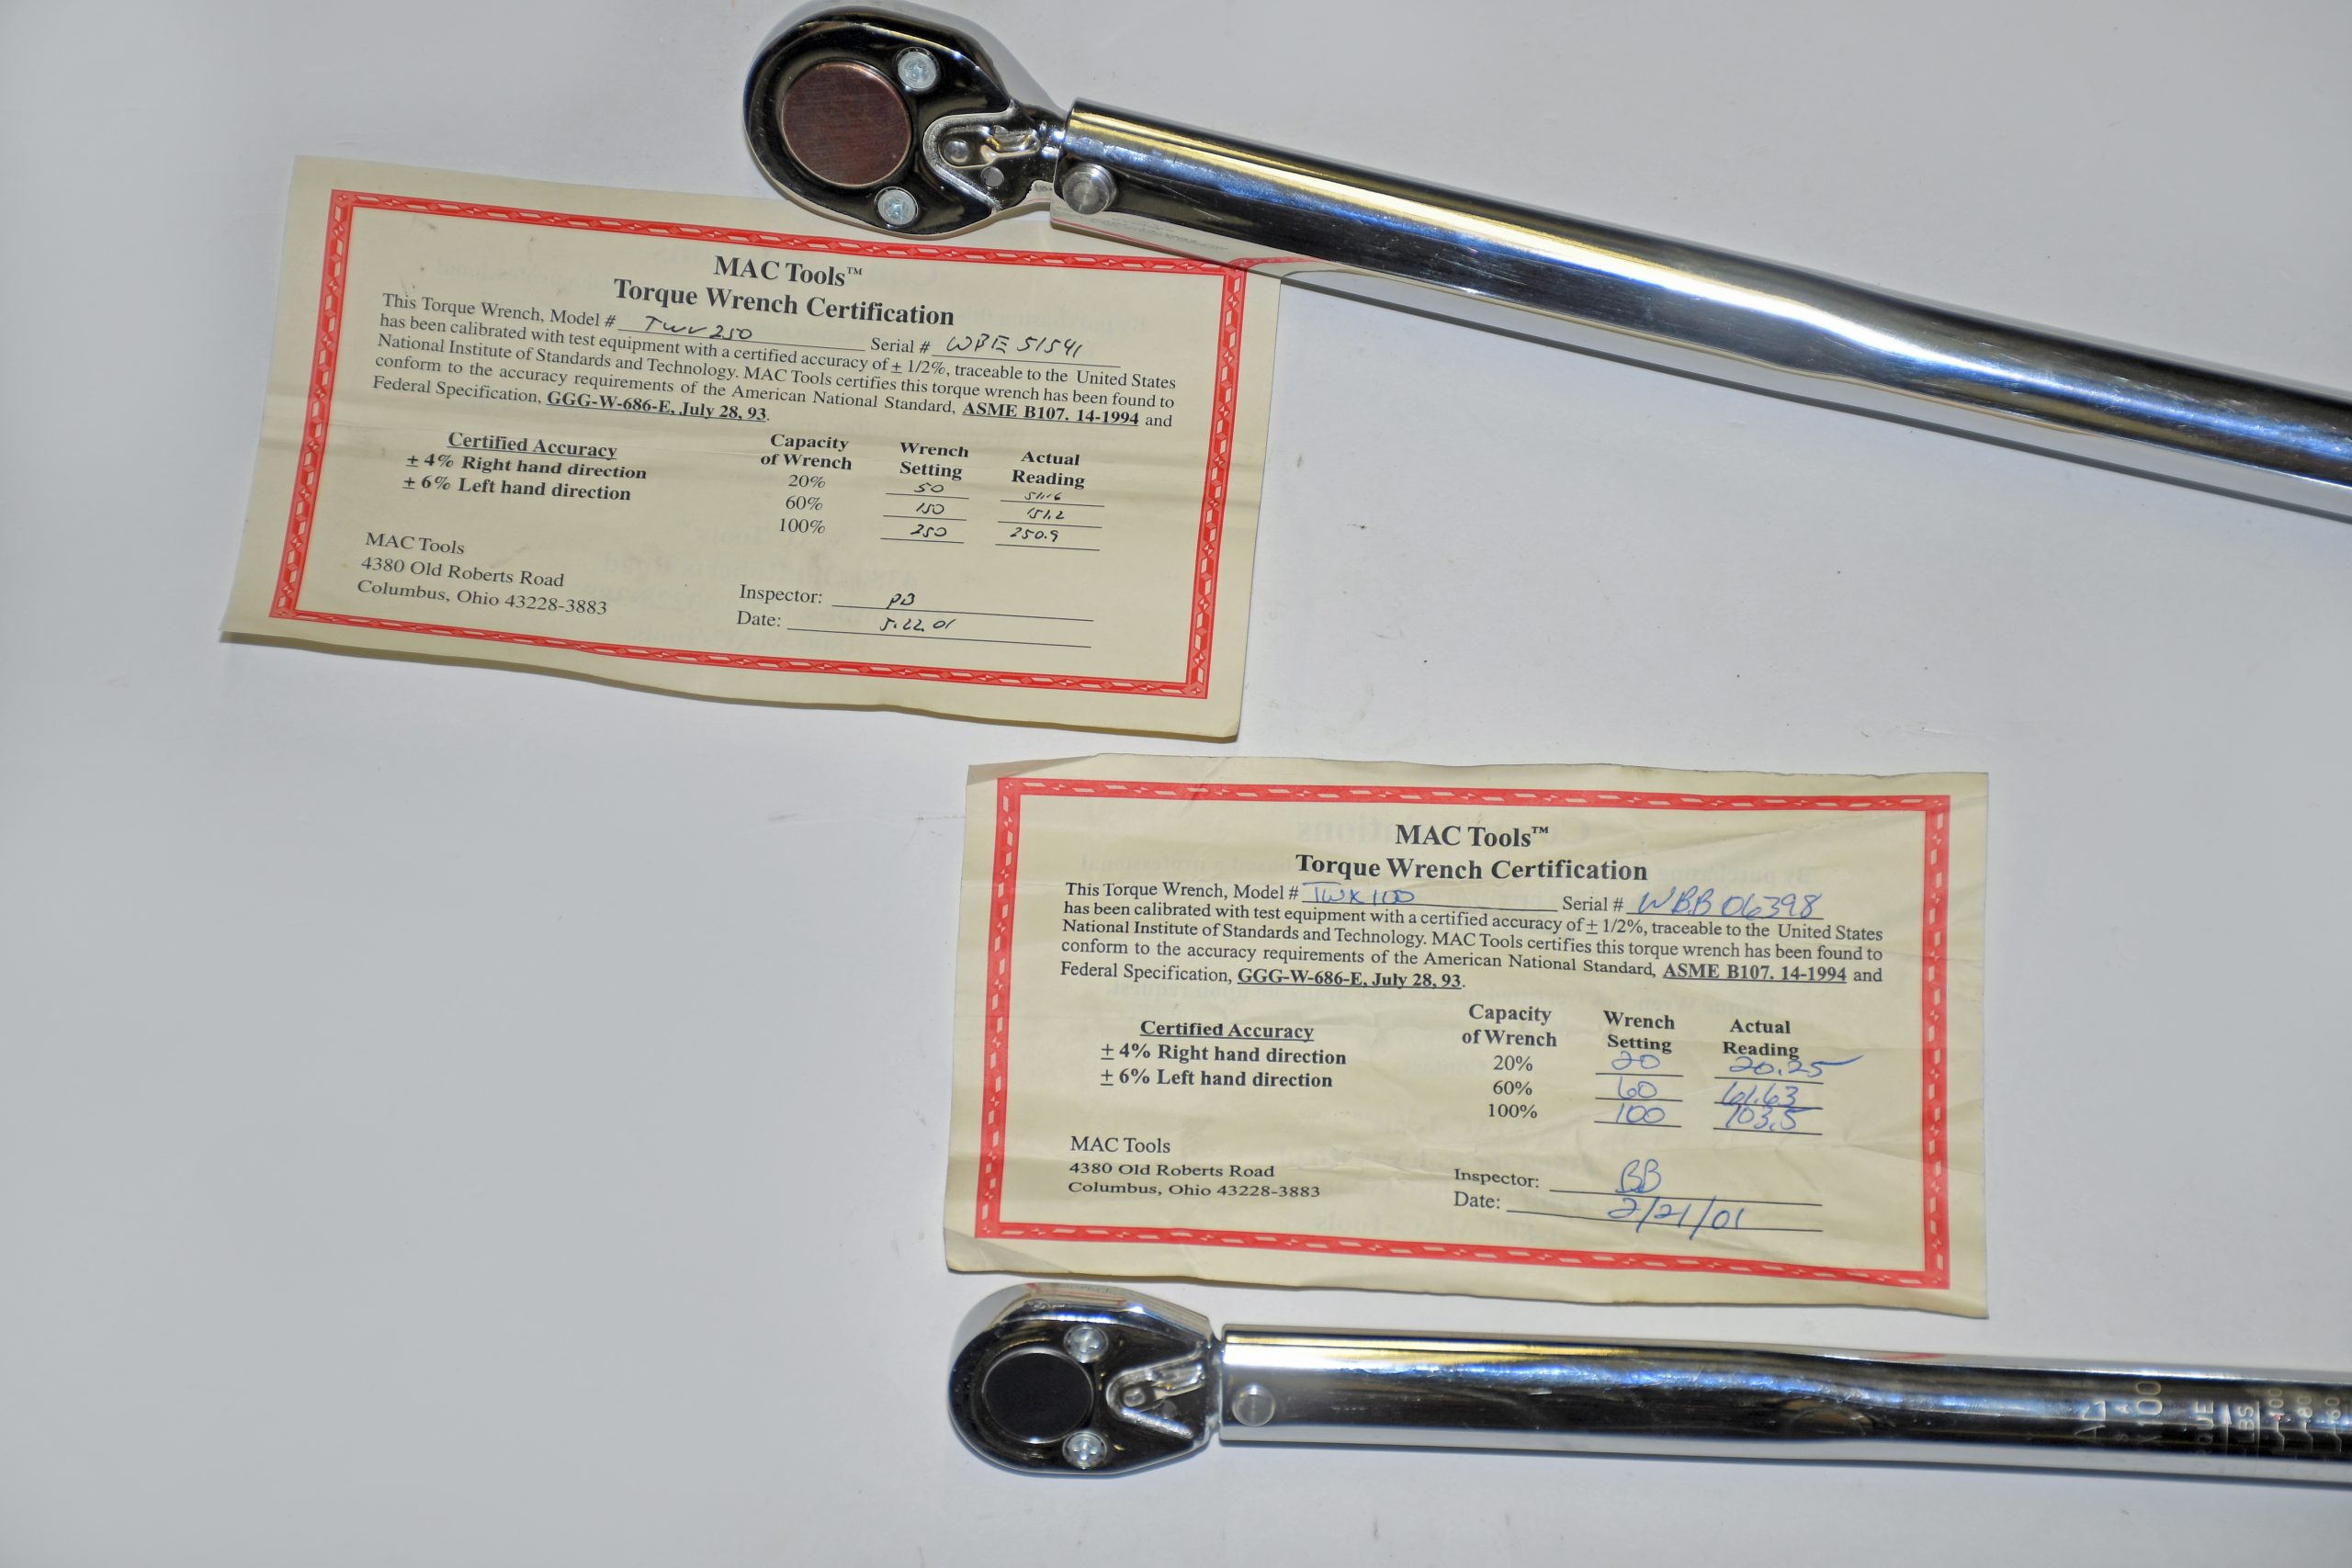
Torque wrenches are calibrated and that calibration should be checked occasionally.
According to some experts, torque wrench readings have a tendency to change following 2,500 to 2,800 repetitions. This can be accelerated by allowing the torque wrench to drop to the ground when using it, not taking the tension off the wrench when in storage, and so on. That’s because most clickers are constructed with internal springs that can lose tension and length over time.
You can send your torque wrench to a specialist to recalibrate it, or you can check the calibration yourself. The DIY approach might not be quite as accurate as one that is done in a lab environment, but it is not difficult and is much less expensive. There are many different ways to check the calibration and adjust torque wrenches. Here’s one way to do the job:
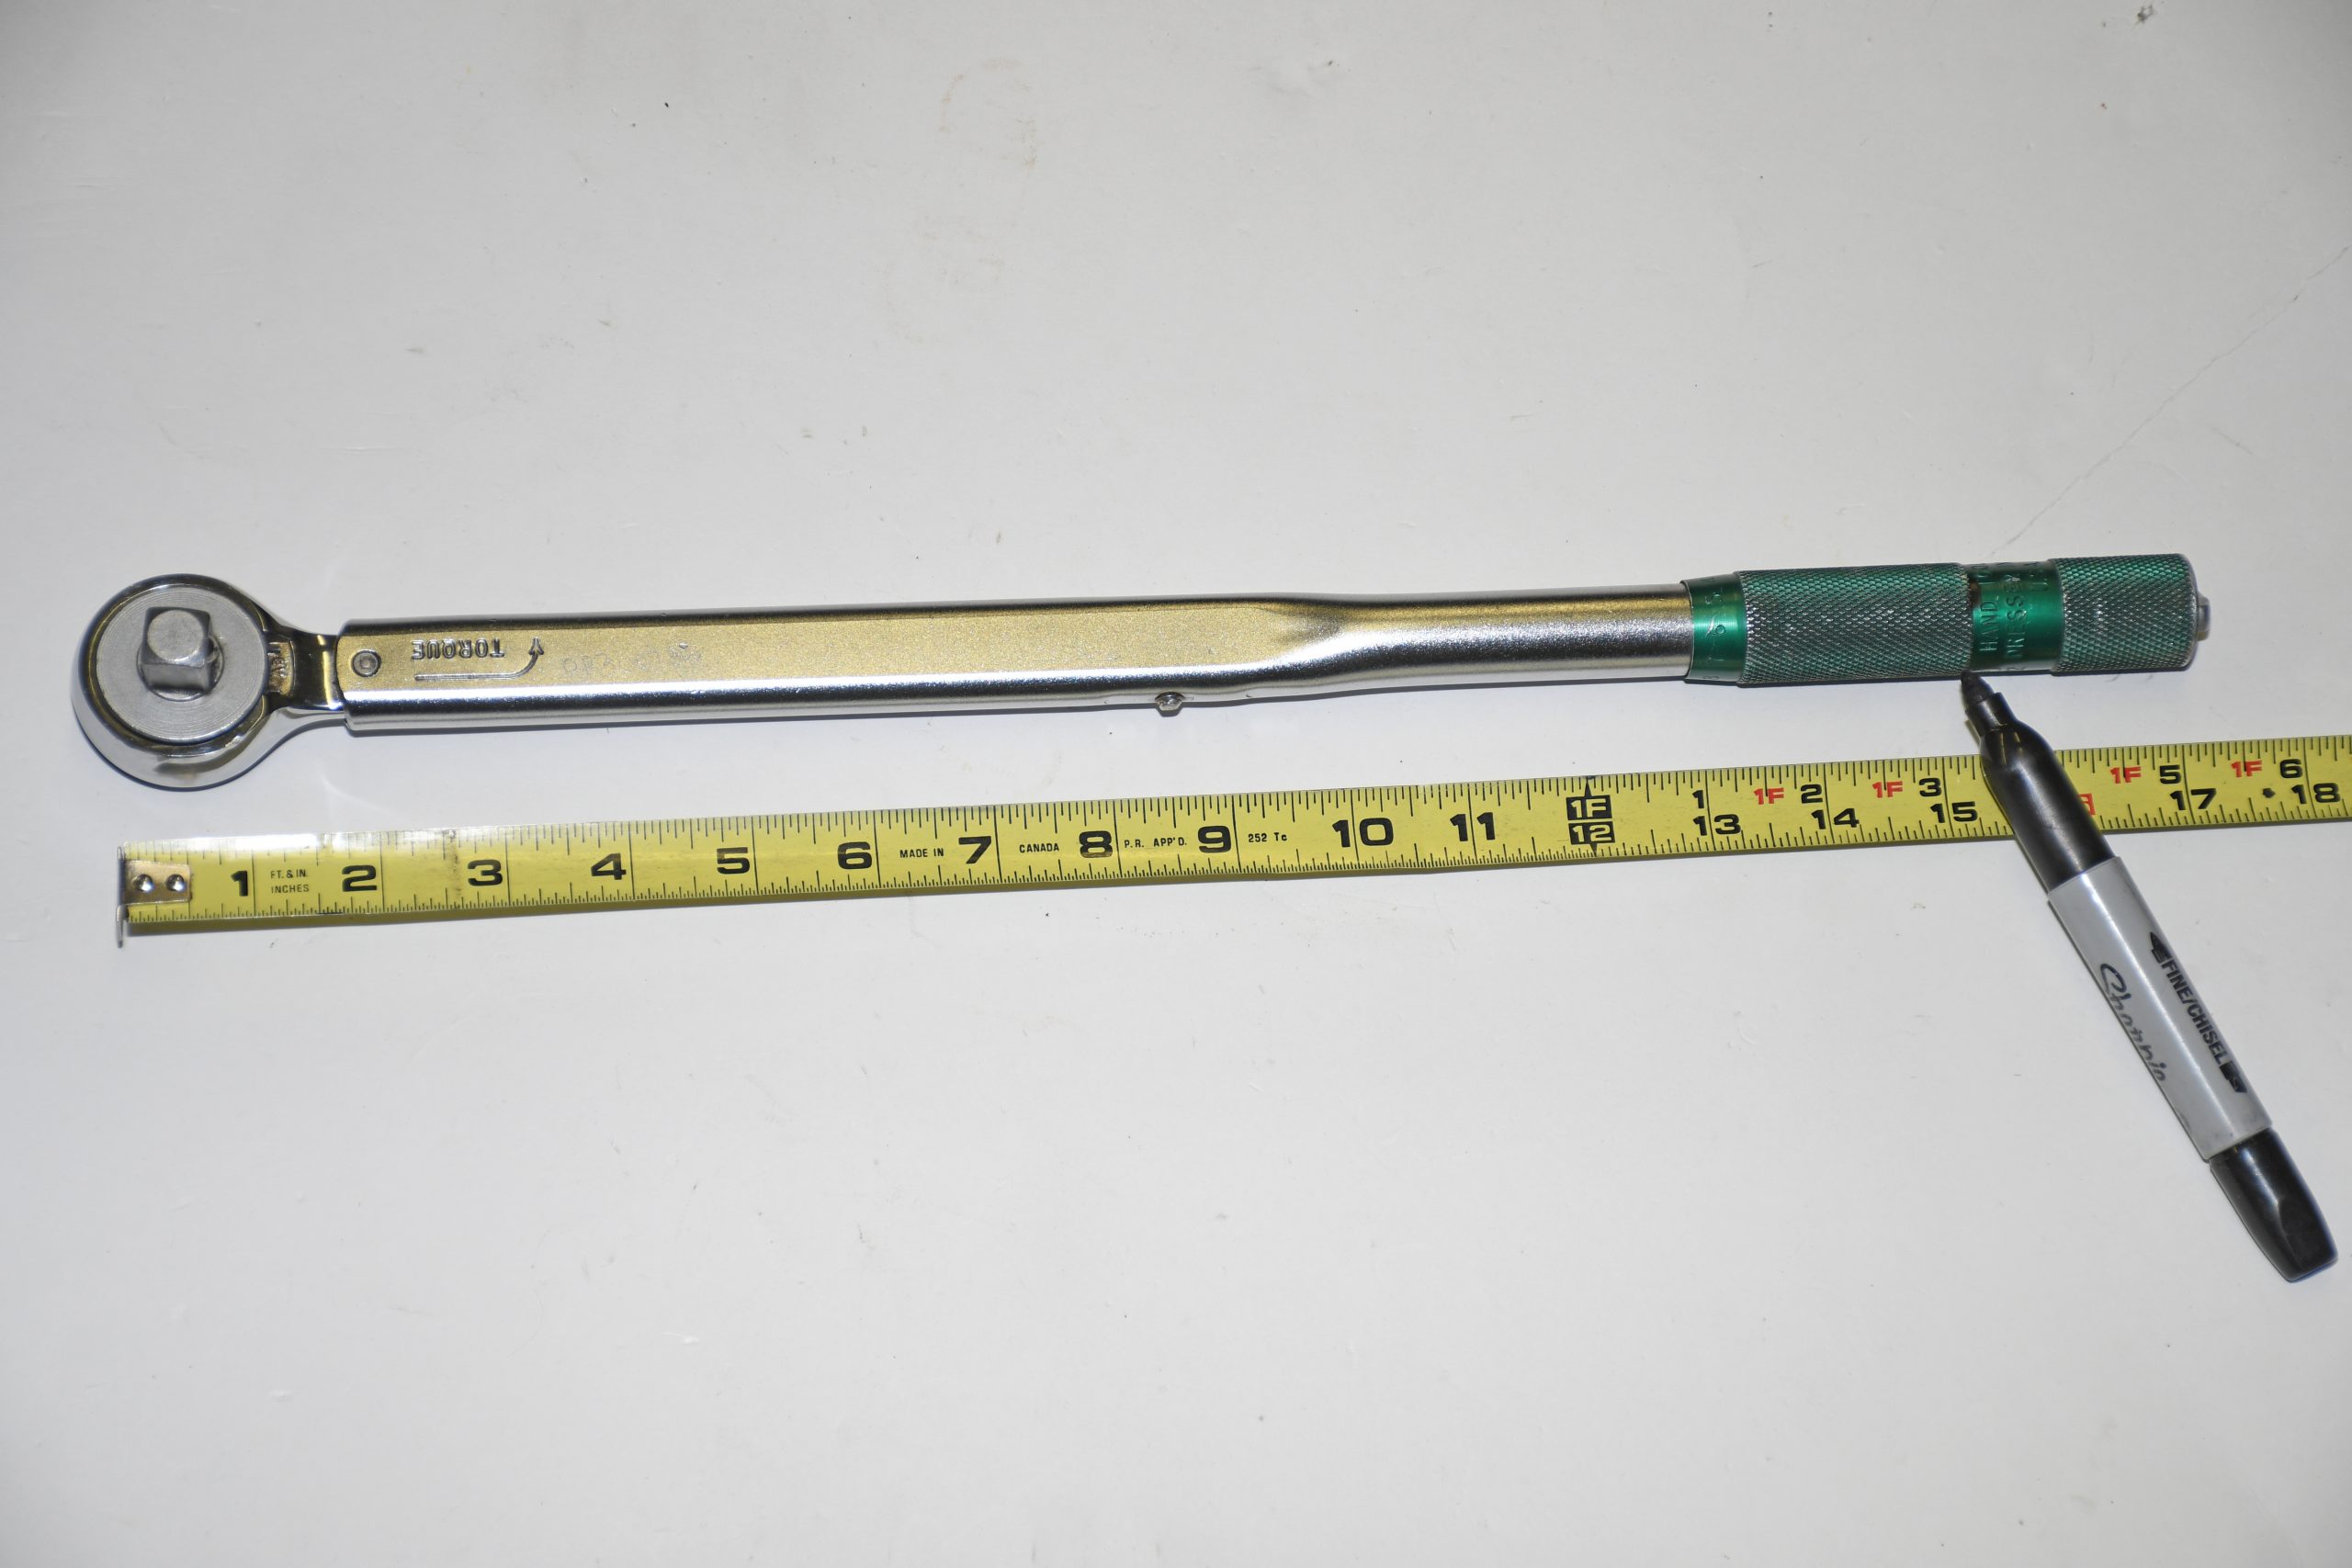
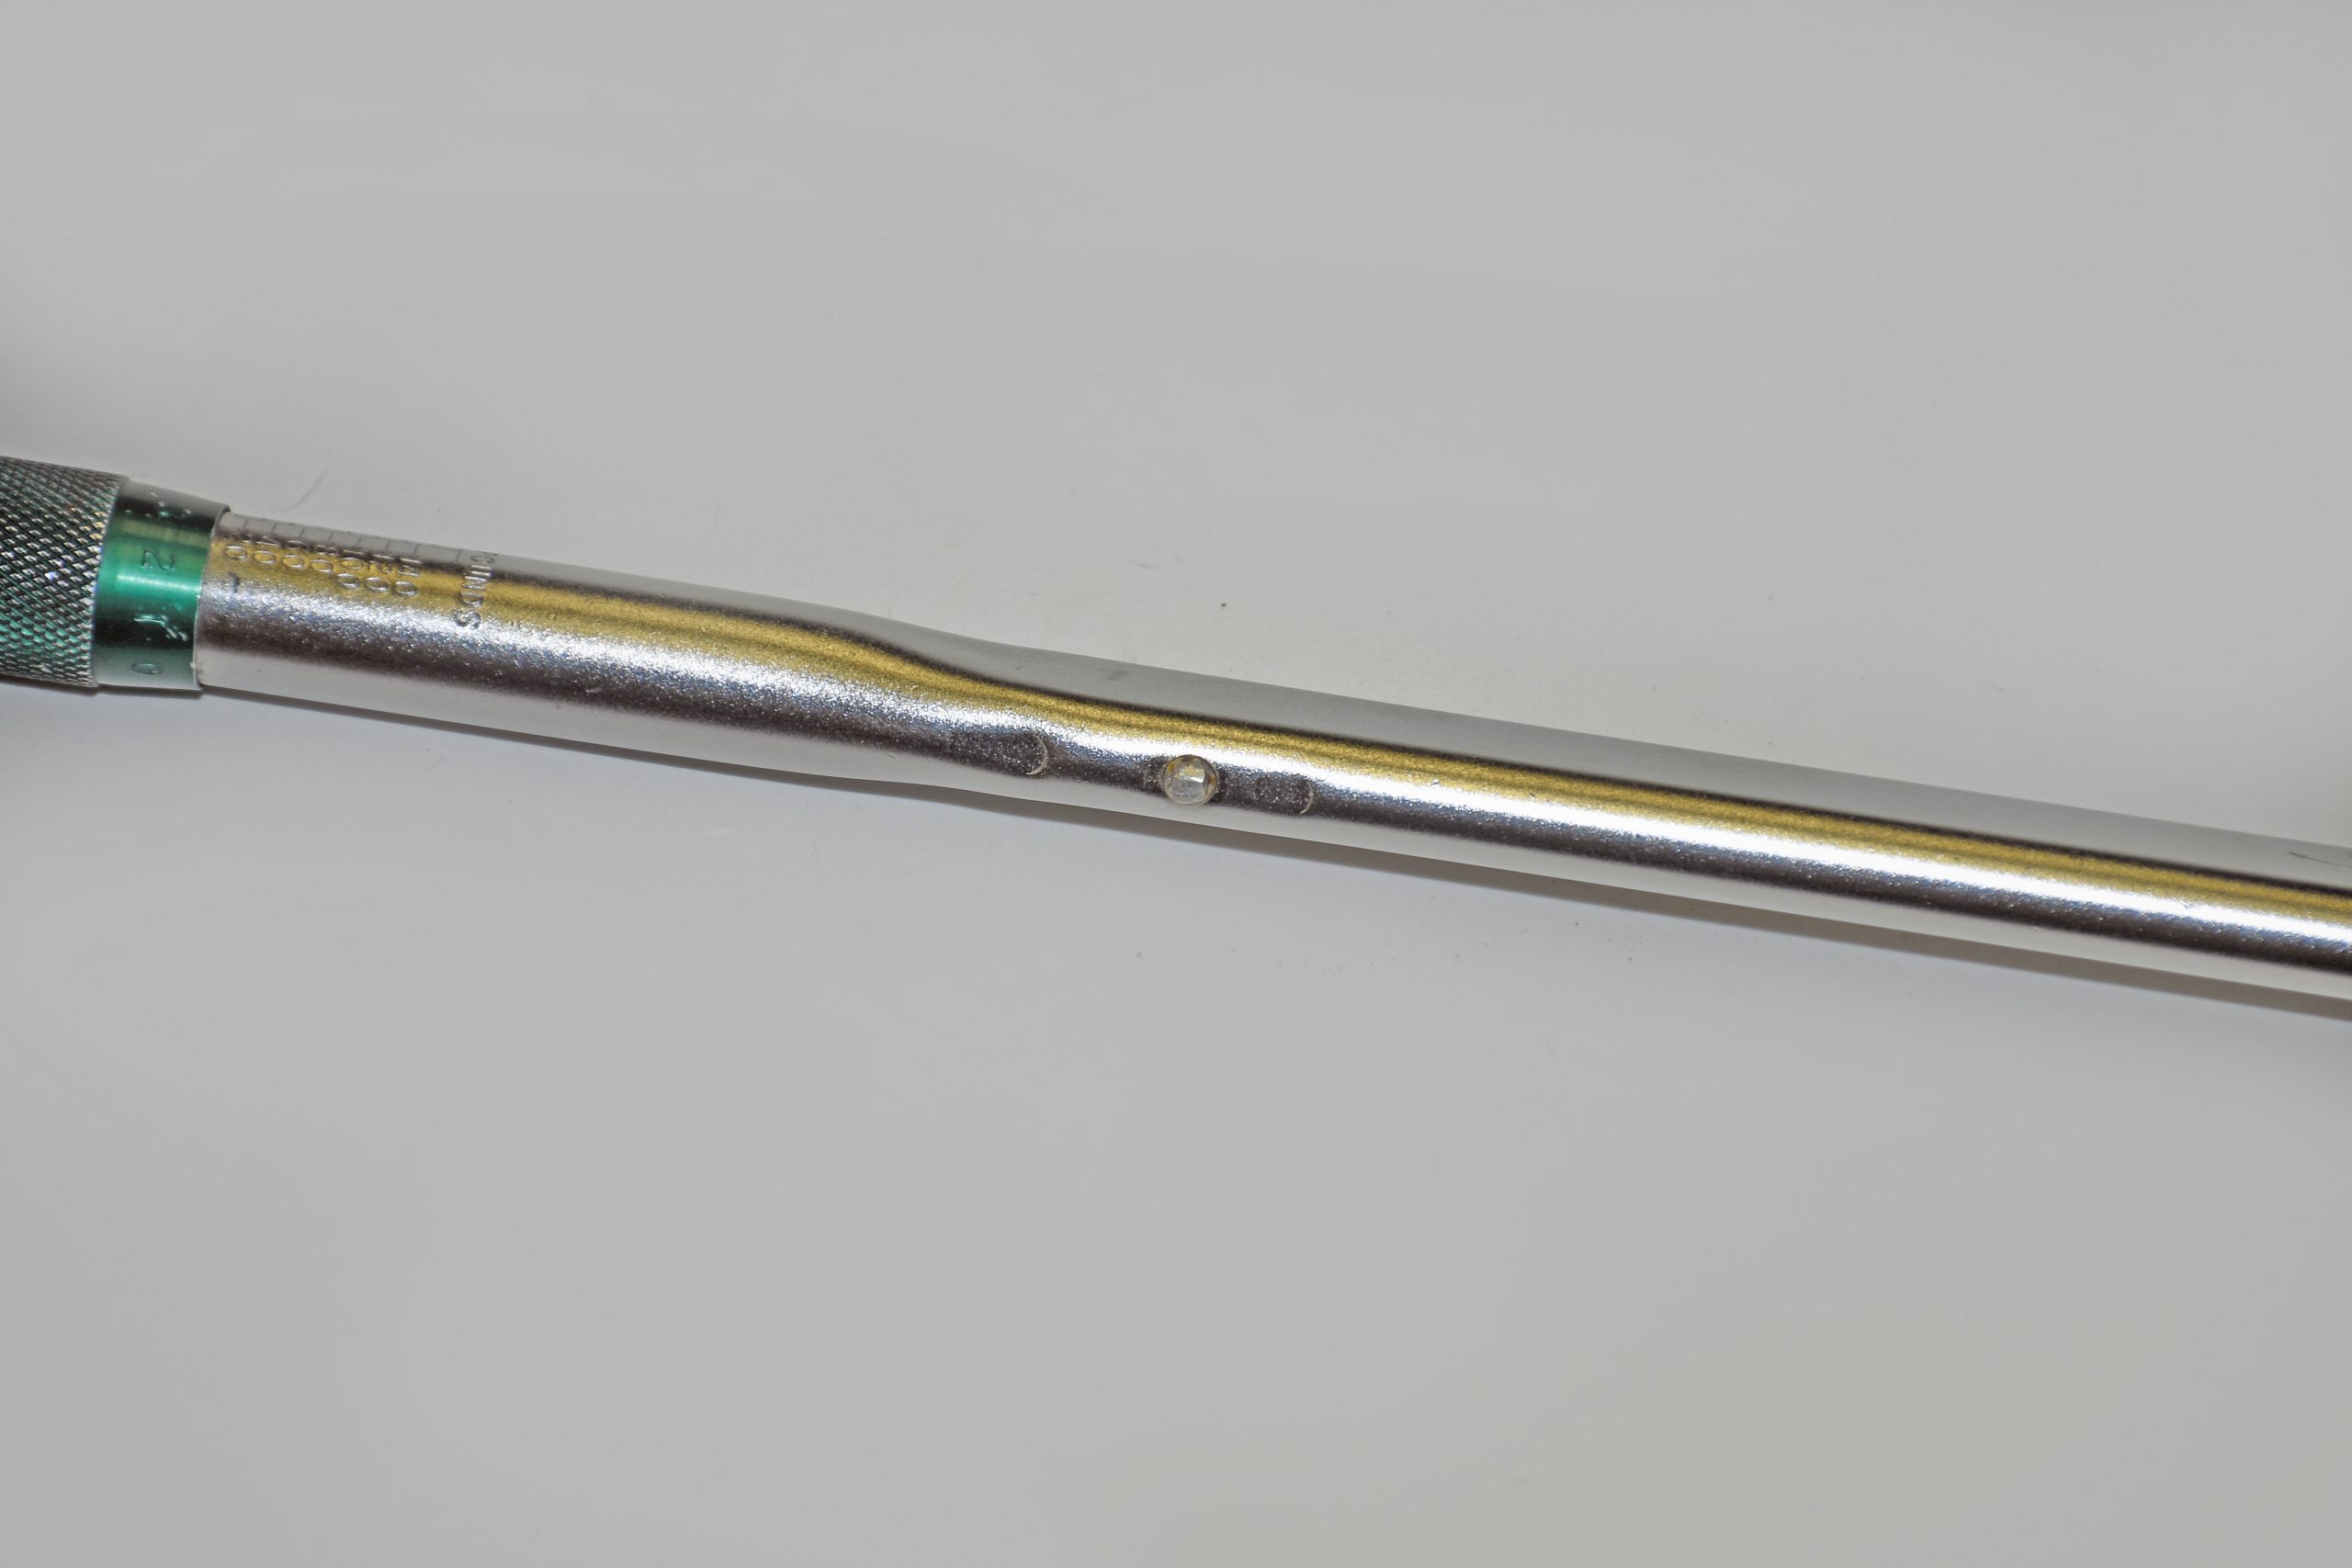
1. Measure back from the square drive to the center of the handle and mark the handle. The measurement on the wrench shown in the photos is 15 inches. This is a reference number. Write it down.
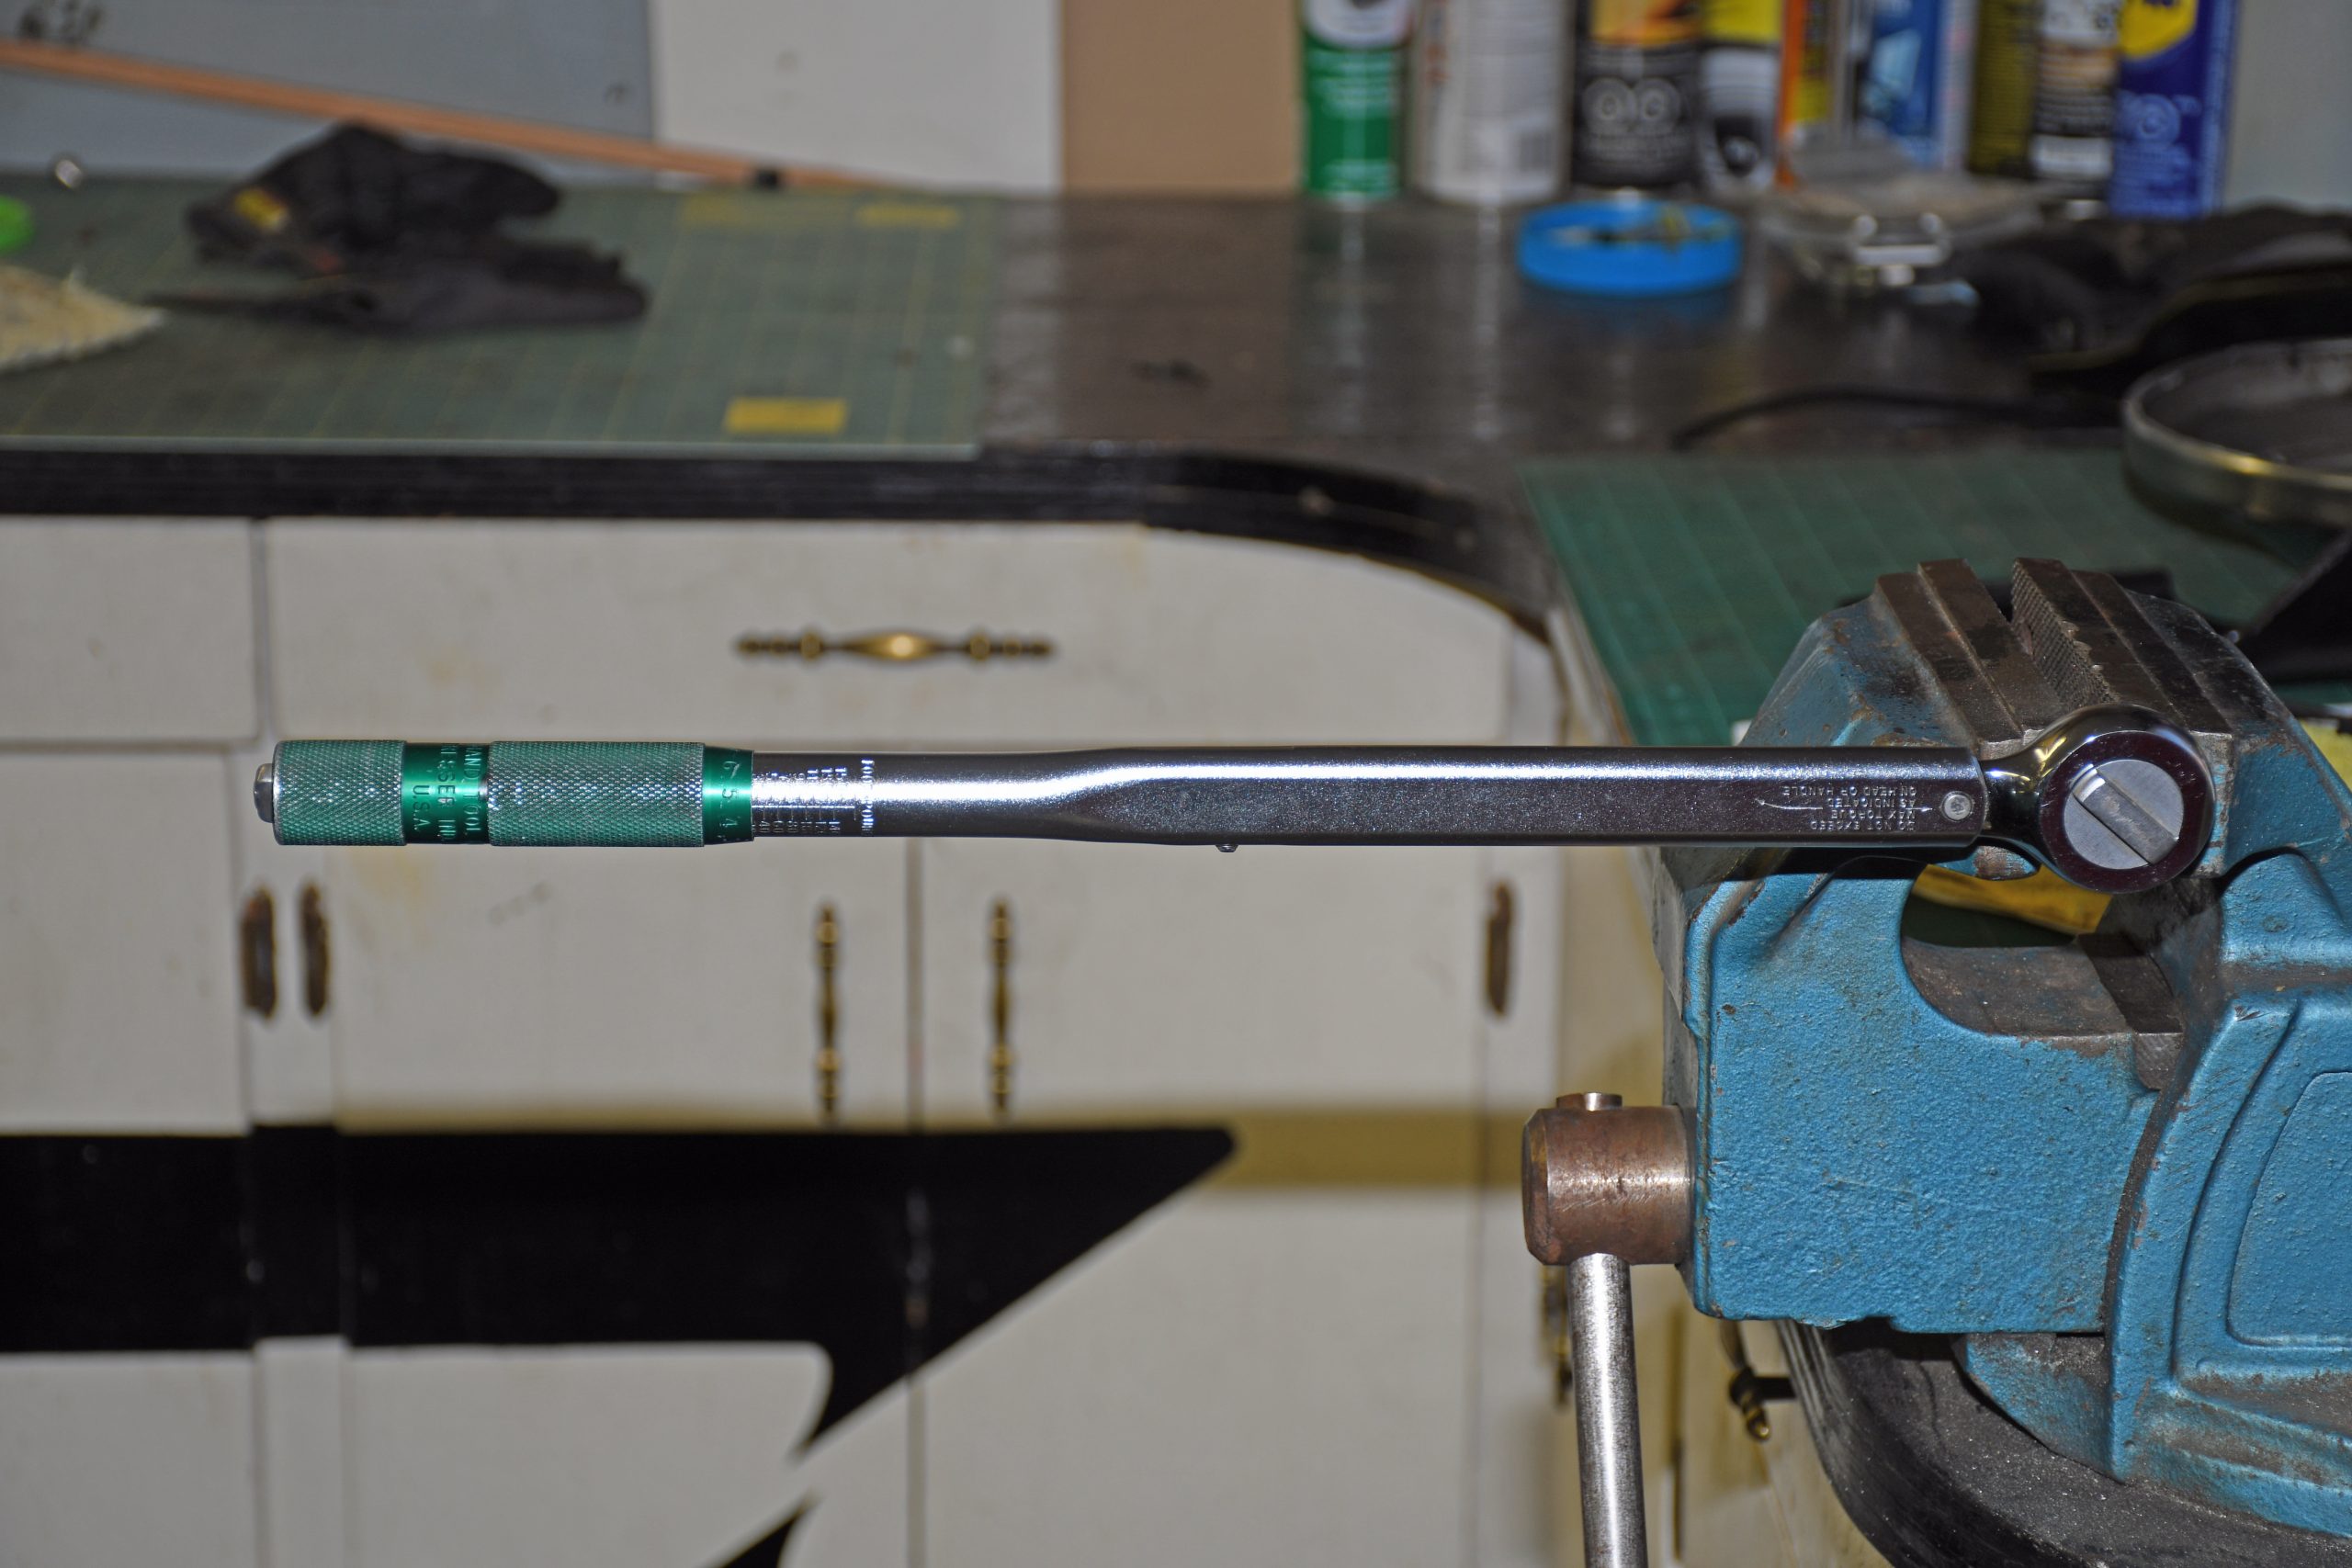
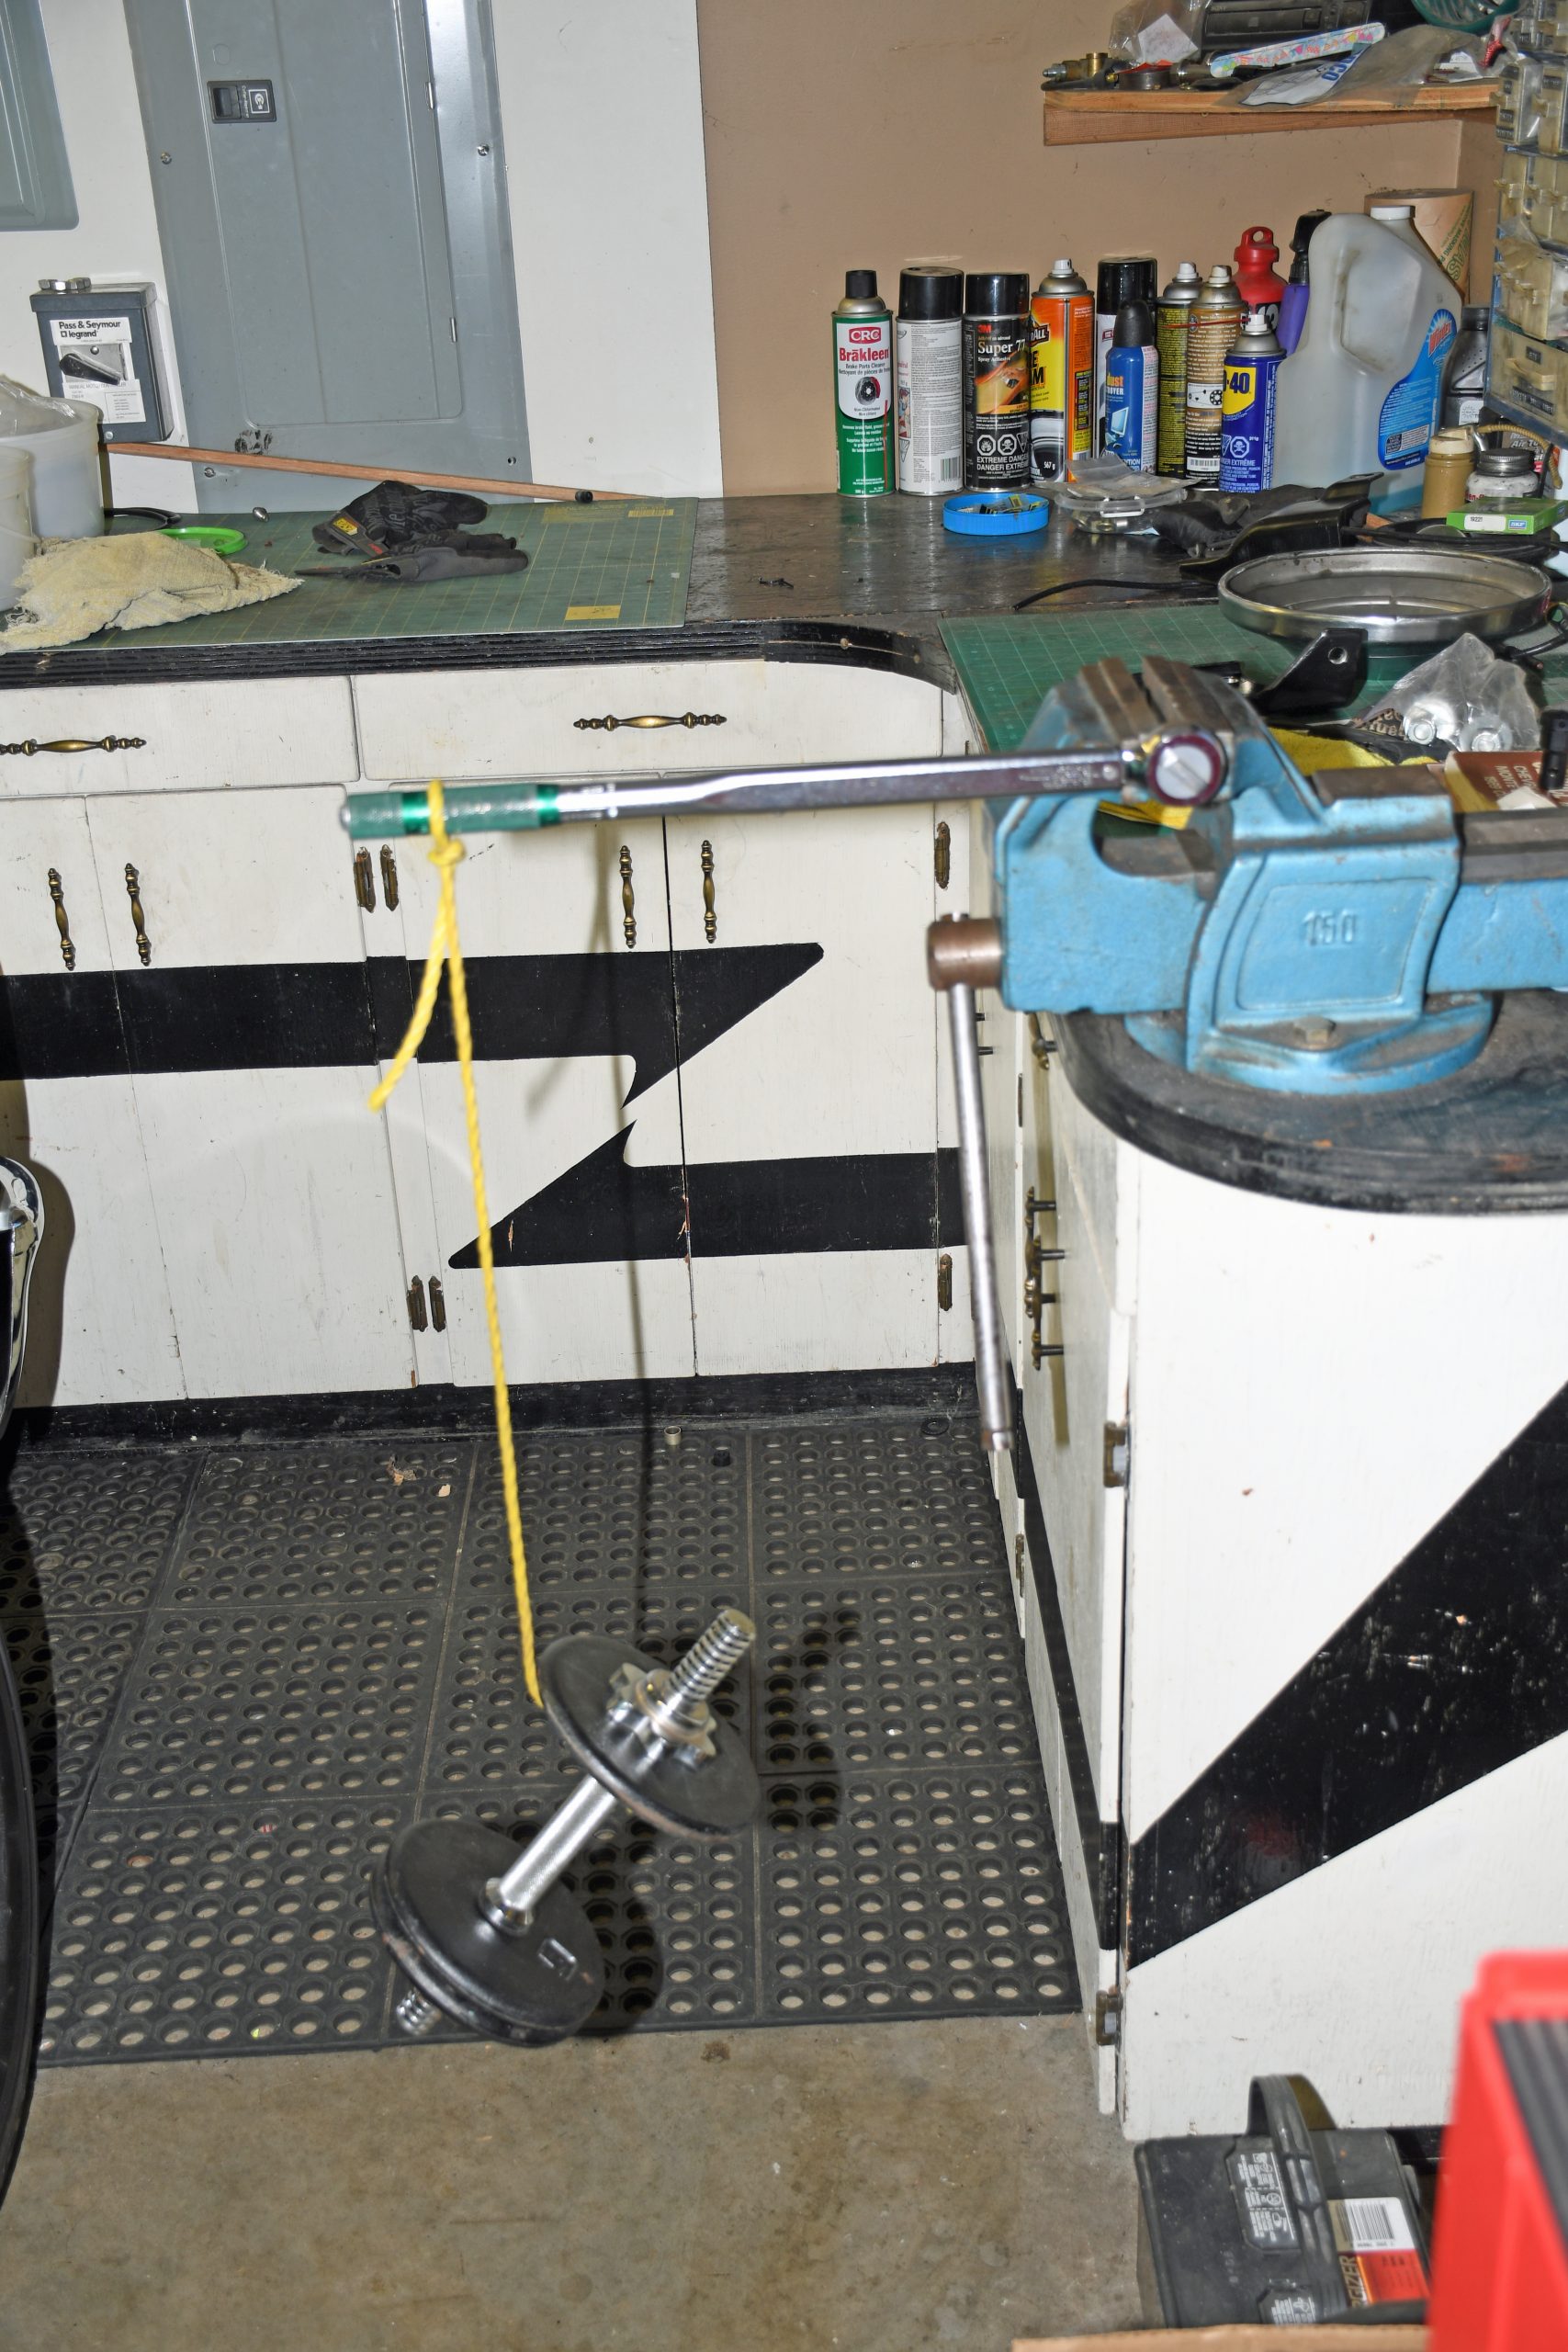
2. Mount the square drive in a bench vise, positioning it so the handle extends outward and is horizontal. Don’t overtighten it, but be sure there’s sufficient vise tension to hold the wrench in check. You want to set this up so the wrench can move when weight is applied to the handle without falling out of the vise jaws.
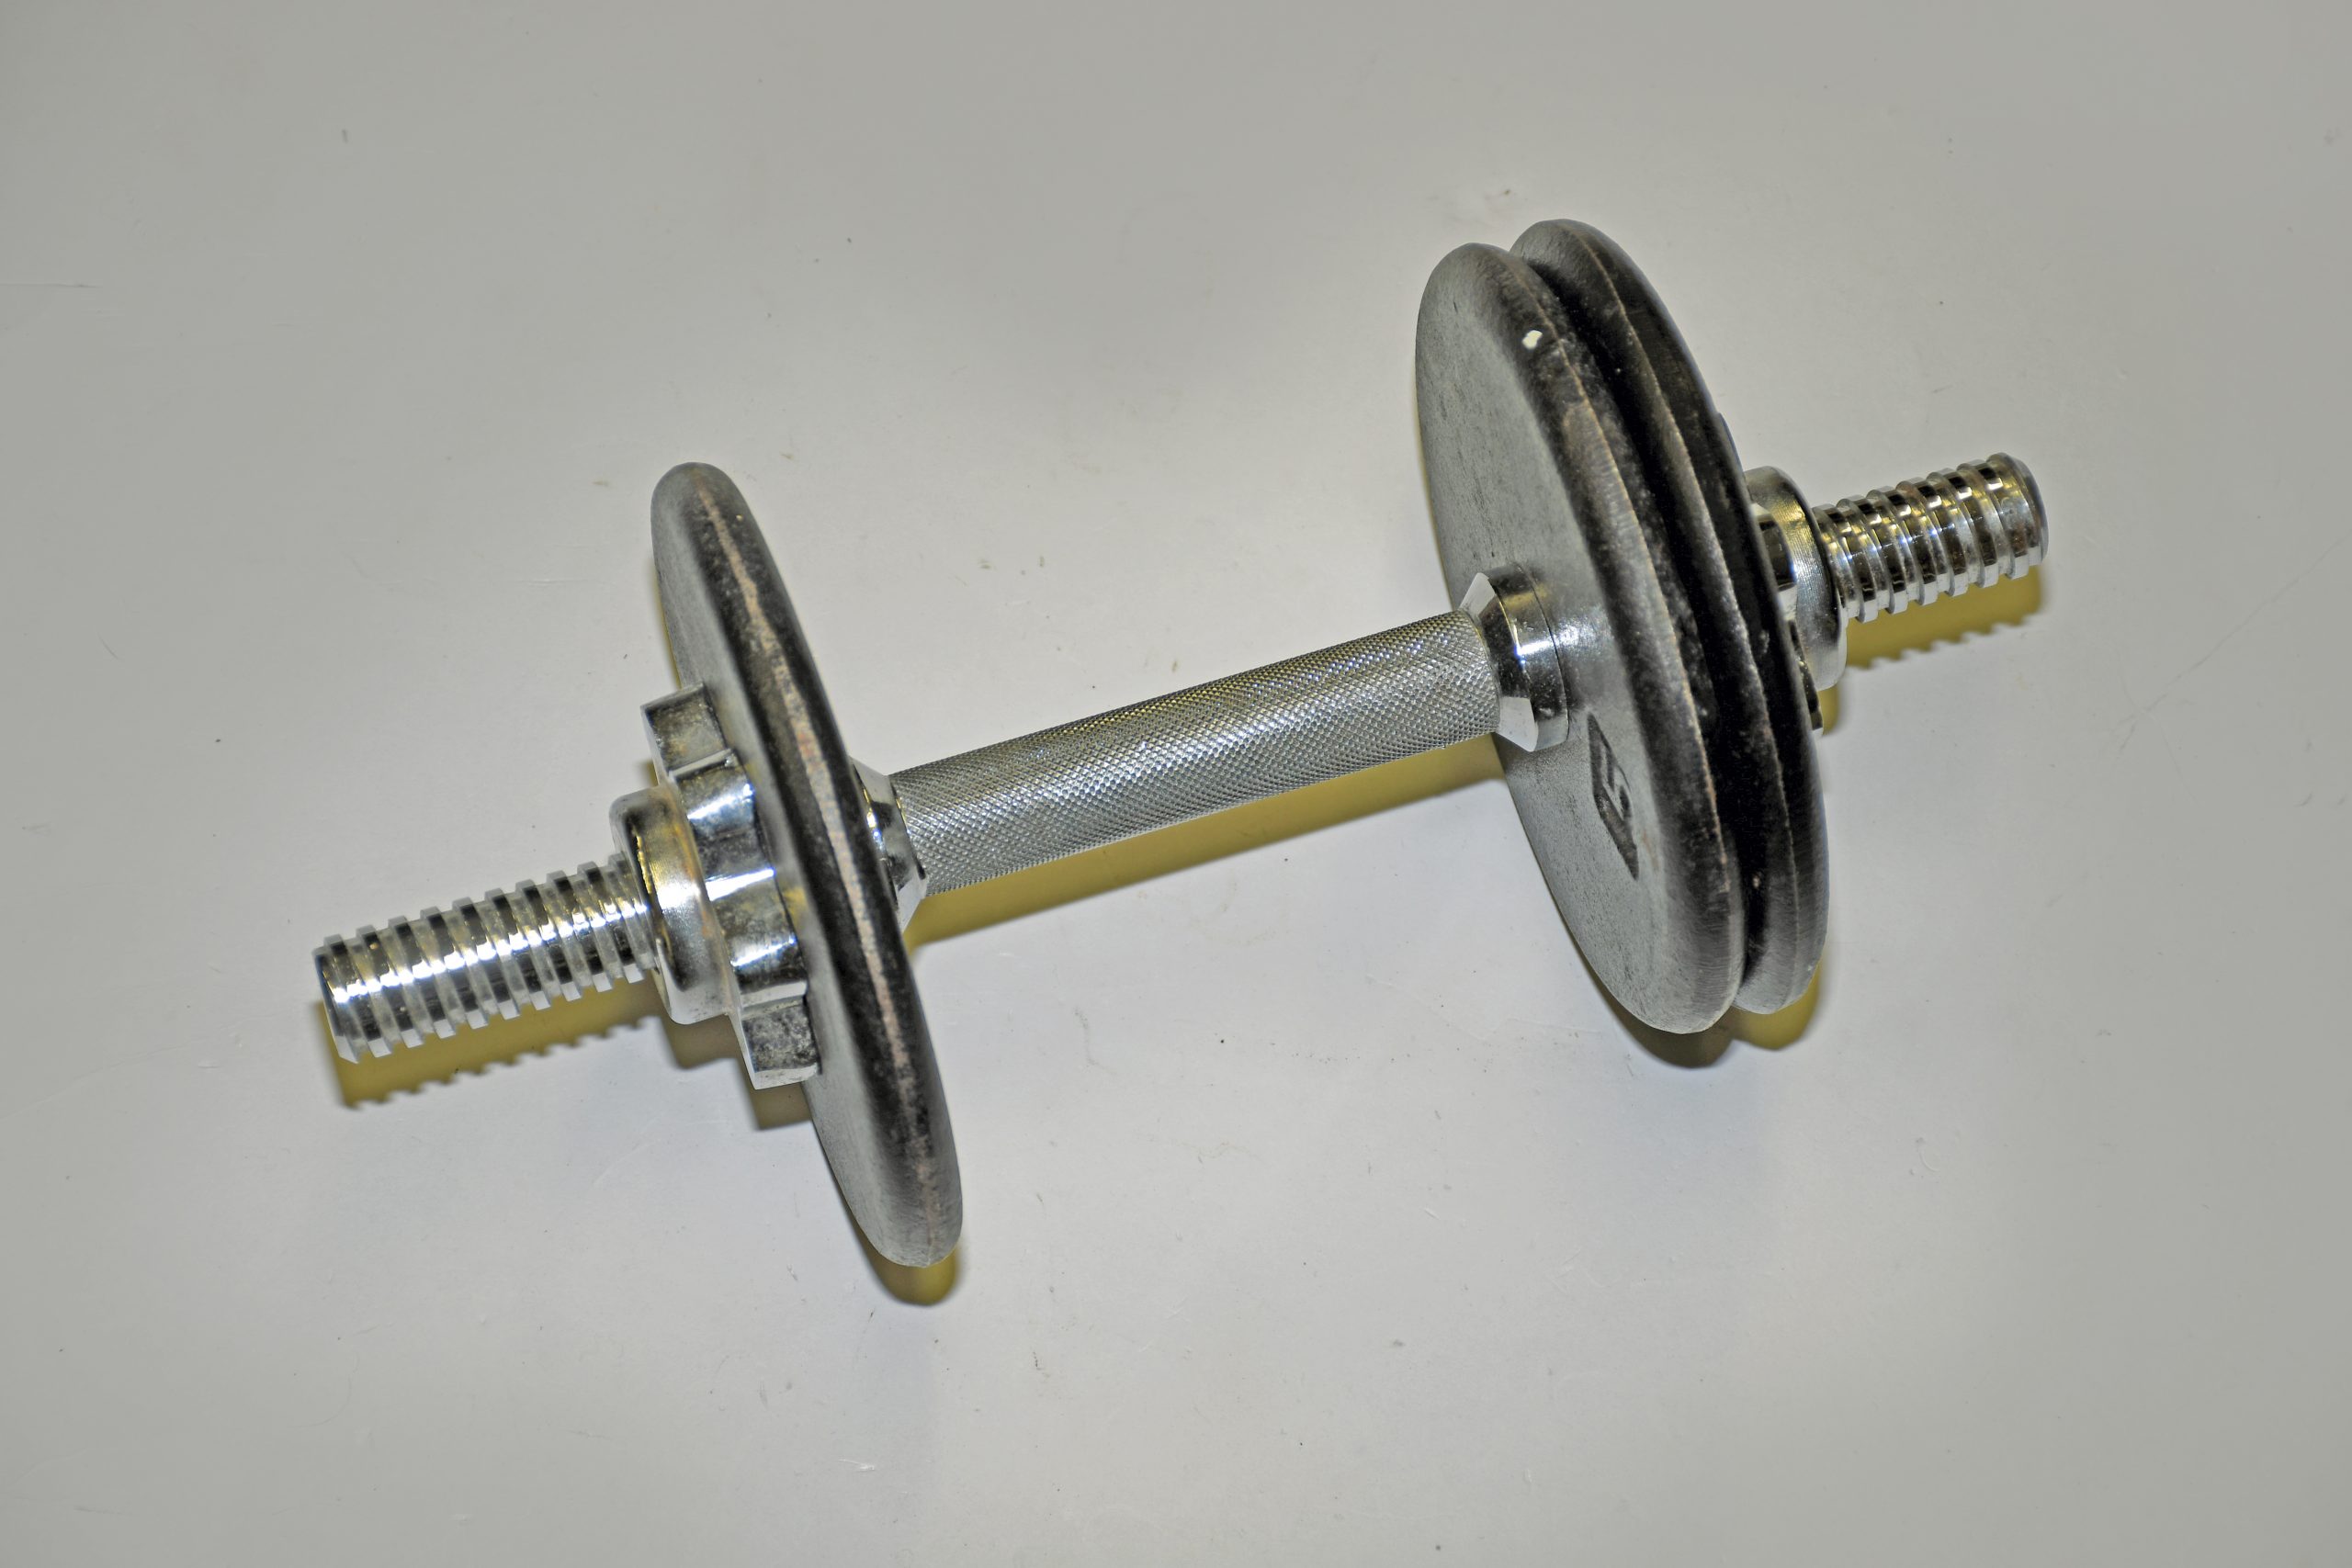
3. Tie a verified weight to the torque wrench at the mark you made on the handle. The idea here is to set the clicker to a specific number, hang weight off the end of the wrench, and see where it clicks. We used weight lifting equipment to come up with 20 pounds of weight – three five-pound weights and a five-pound handle.
4. The math works out like this:
Weight x Handle Distance: 20 pounds x 15 inches = 300 inch-pounds
Convert Inch Pounds to Foot Pounds: 300 inch-pounds / 12 = 25 foot-pounds
5. Set the torque wrench to click at 25 foot-pounds. Secure the weight to the wrench handle at the measured mark with a piece of rope (we used light nylon rope). Be sure the weight doesn’t touch the ground.
6. Check to see if the wrench clicks. If it does, you’re good to go. If it doesn’t click, it is possible to adjust the setting externally (often by way of a set screw) on some torque wrenches. Simply turn the setscrew clockwise; this tightens the internal spring in the torque wrench.
7. To make the adjustment, remove the weight and repeat step 5 to see if the wrench clicks. Keep repeating the process by lifting the weight off the torque wrench handle and lowering the weight again. Turn the set screw and check to see if it clicks.
If your wrench cannot be adjusted or you don’t want to mess with it, you can still figure out a correction factor. Move the weight in one-inch increments up the handle (closer to handle end). The idea is to determine where the wrench clicks using a verified weight. For example, with the wrench set to 25 foot-pounds and clicking with the weight placed at 16 inches, the math for correction works out like this:
Weight x Handle Length
20 pounds x 16” = 320 inch-pounds
300-inch pounds / 12 = 26.66 foot-pounds
Calibration Correction
25 / 26.66 = 0.937
You can also use the length markings you made on the handle to come up with the correction factor:
Center of Handle Mark divided by Click Mark = Calibration Correction
15” divided by 16” = 0.937
When you use the wrench, multiply the wrench torque “reading” by the calibration figure. For example, with the above correction factor, the wrench will click at 25 foot-pounds, but the true reading is 25 X 0.937= 23.425 foot-pounds.
If you’re not comfortable with using the calibration factor every time you use the wrench, then you can send it out to be recalibrated.
Story and Photos by Wayne Scraba